
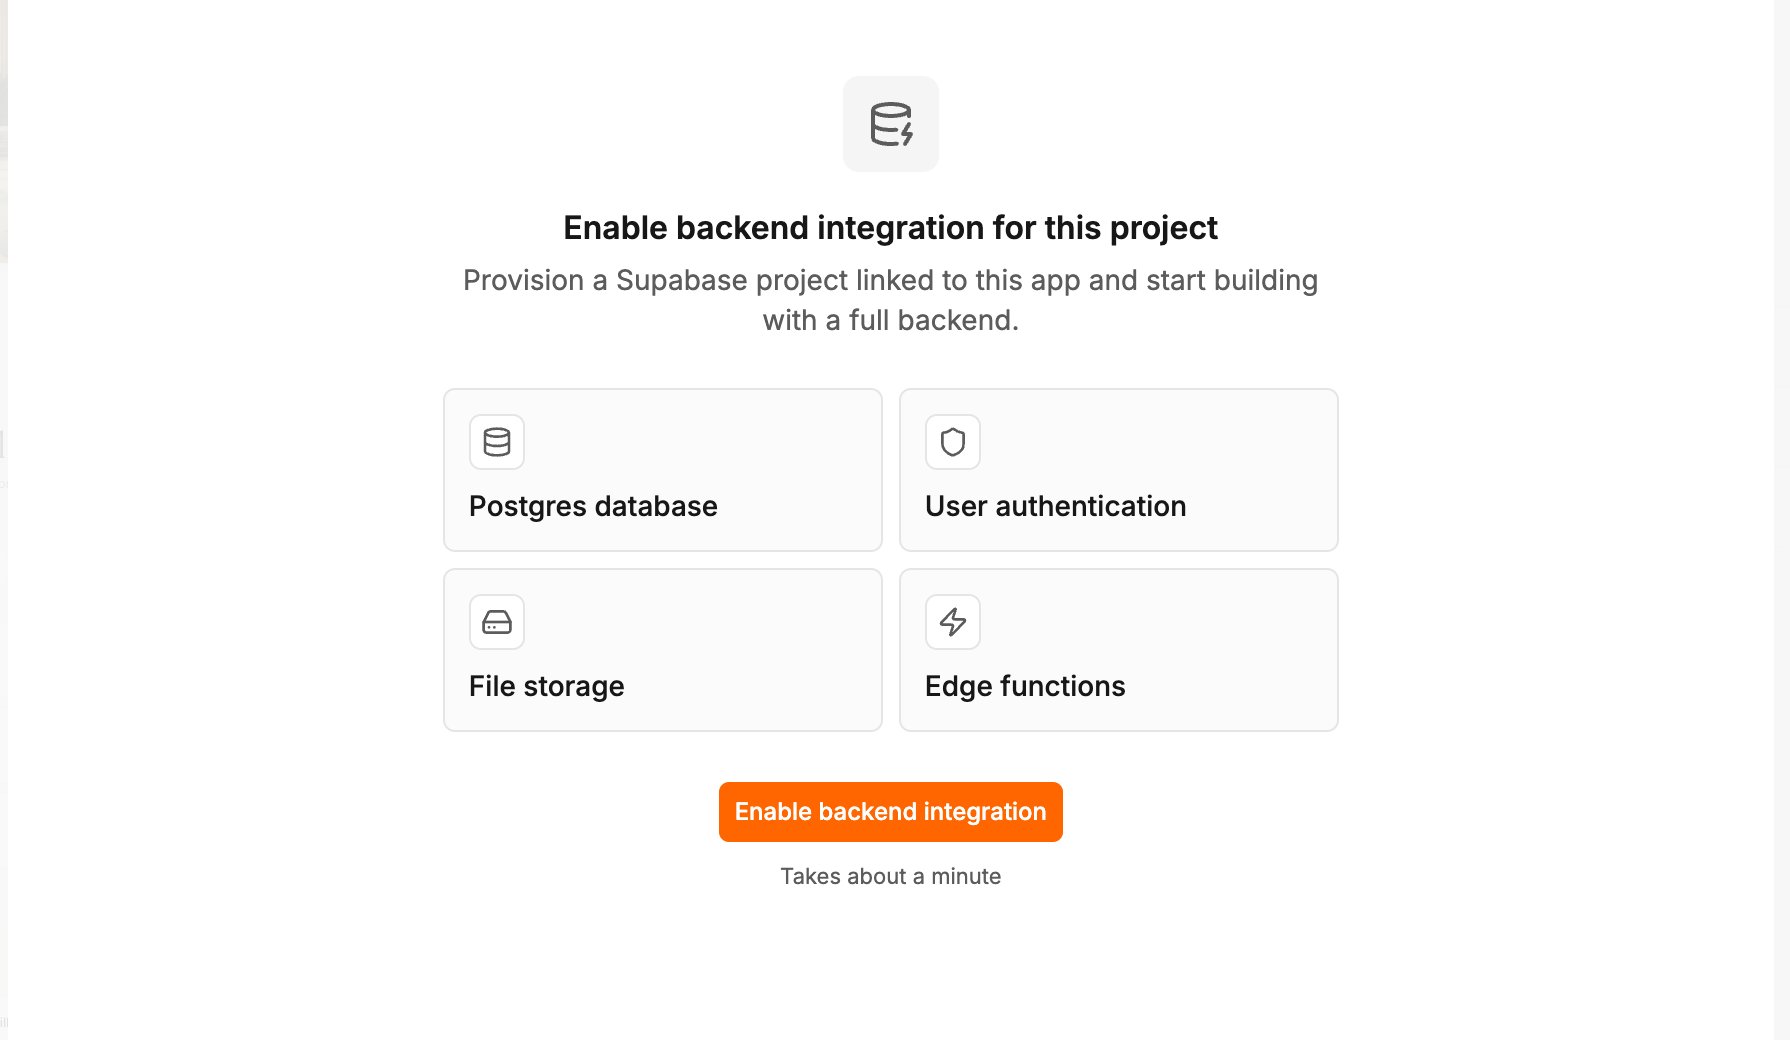
What you get
You do not need a separate account. Polymet creates and runs the backend for you, and you manage it from the Backend view inside your project.
Enable it yourself
- Open your project.
- In the switch at the top of the screen, click Backend.
- Click Enable backend integration. It takes about a minute.
- When it is ready, the Backend view opens on Database.
Or let the agent do it
Describe something that needs a backend, and the agent sets one up on its own:Things to know
- One project has one backend. Every branch of the project uses the same one, so changes that touch the live backend (applying table changes, putting functions live, setting secrets) run only on the default branch. See Manage your data.
- If setup fails you will see Backend setup failed. Refresh the page and try again, or click Contact support.
- If the Backend view shows Couldn’t load backend integration, click Retry.
Related
- Manage your data — see your tables, users and logs, and what the agent asks before it changes them
- Secrets and outside APIs — store an API key and call a payment or email service
- Branches — why live backend changes happen on the default branch