
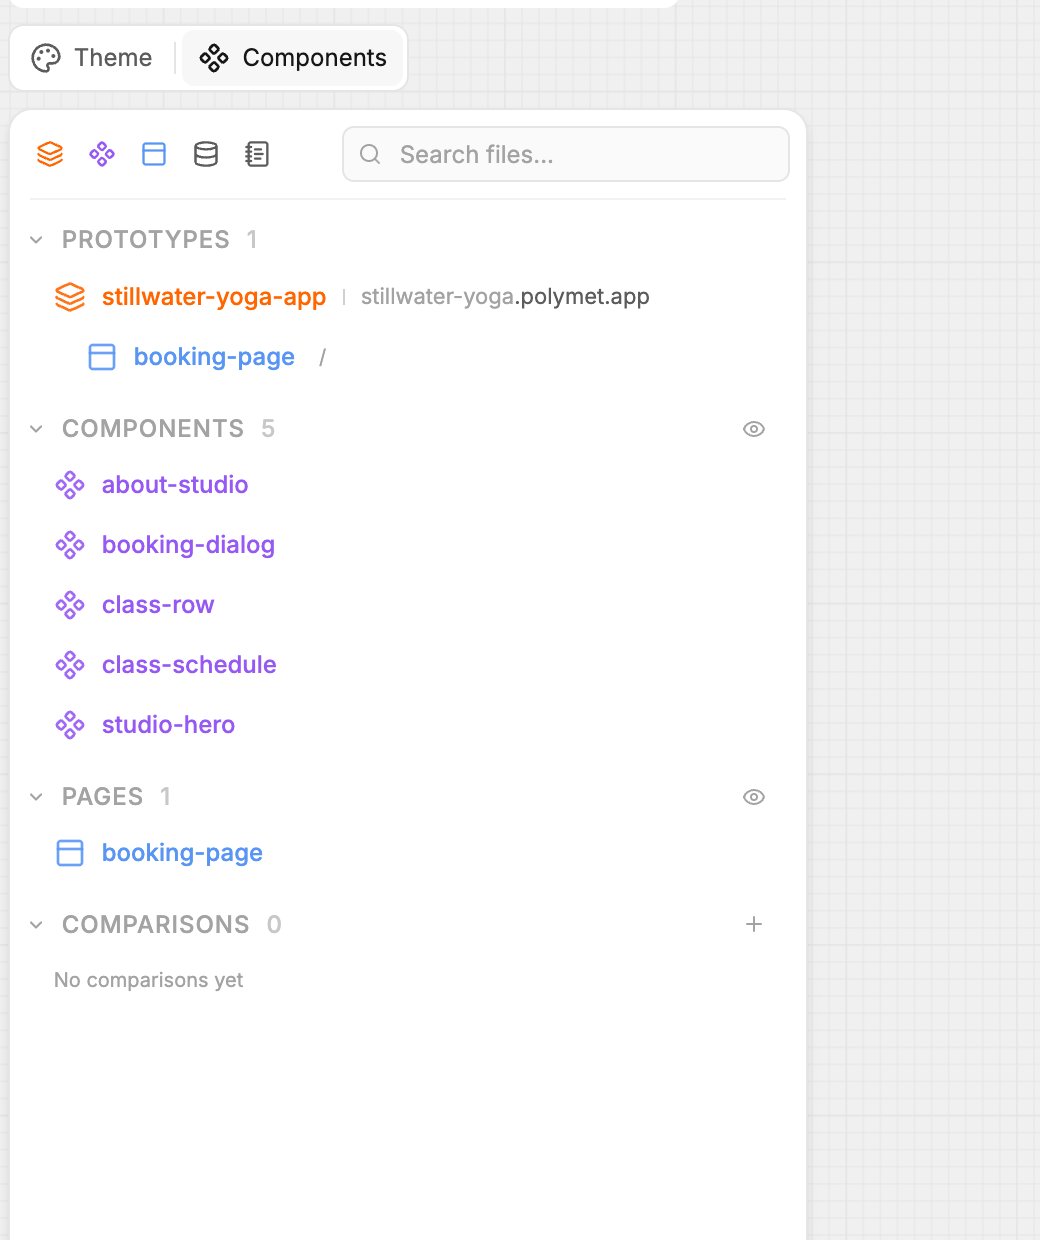
Open the file list
- On the canvas, click Components at the top left.
- In Focus, click the address bar above the screen.
What is in each section
A file that no screen uses carries a Not in use tag.
Prototypes
A prototype links several pages into one flow, the way a real app moves from screen to screen. It is the part of a project that gets its own live link when you publish it. In the list, each prototype shows its pages underneath it. Click the prototype to open it in Focus, or click one of its pages to go straight to that page. If your project has no prototype yet, the list says There are no prototypes yet. Click Create a prototype. The generation input fills with a prompt asking the agent to build one from your existing pages. Read it, change it if you like, and send it. A row marked no page linked is a route in the prototype with no page behind it. Click the warning and the generation input fills with a prompt asking the agent to create or link a page for it. To give a prototype a live link, see Publish a prototype.Plans
For larger requests the agent writes a plan: a list of tasks it works through. Plans appear in the Plans section with a status: Not started, In progress, Completed or Archived. To change a plan, ask the agent in a prompt. Plans are read-only in the code editor.Rename a file
- Hover over the file and click the three-dot menu, then Rename file.
- Type the new name under New filename. It needs at least 3 characters.
- Check Affected files. These are the files that use this one. Polymet updates them for you.
- Click Rename File.
Hide a file from the canvas
In the Components panel on the canvas, hover over a file and click the eye icon (Hide from canvas). The file stays in your project; only its node leaves the canvas. Click the eye again (Add to canvas) to bring it back. The eye next to a section name hides or shows every file in that section. Showing 10 or more at once asks you first, since many nodes can slow the canvas down. Prototypes can’t be hidden.Delete a file
- Open the file’s three-dot menu and click Delete.
- If other files use it, the dialog lists them under Dependent files and you can’t delete it yet. Remove it from those files first, or ask the agent to.
- Otherwise, type
DELETEand click Delete.
Copy files to another project
- Open the file’s three-dot menu and click Copy to another project. For several files, select their nodes on the canvas and click Copy files to another project.
- Under Files to copy, check the list. Polymet adds every file they depend on, shown as dependencies.
- Under Destination, pick a project in your organization, or click Create new project and name it.
- Under Filename conflicts, see which files will be renamed because the other project already has a file with that name.
- Click the copy button. It names the count, for example Copy 3 files.
Related
- The canvas — moving, selecting and opening canvas nodes
- Compare options side by side — comparisons in the file list
- Publish a prototype — give a prototype a live link
- Versions and rollback — go back to an earlier state of the project