
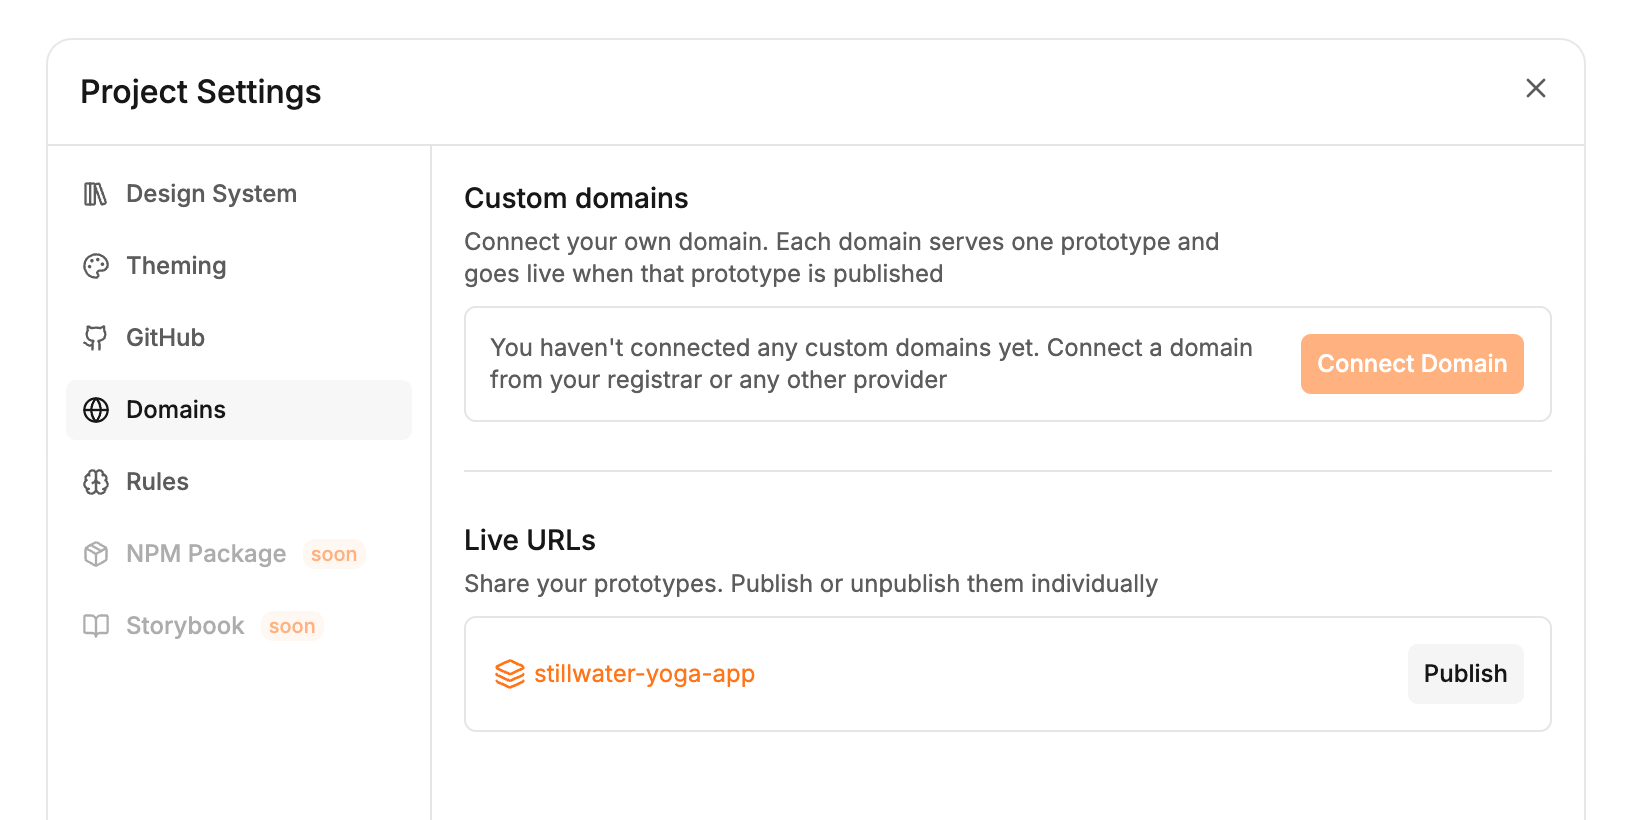
Connect a domain
- Open Project settings (the settings button next to the project name) and go to Domains.
- Click Connect Domain, type the domain, and click Continue.
- Choose Root domain (example.com) or Subdomain (app.example.com). For a root domain, Redirect www to root is on by default, so www.example.com sends visitors to example.com.
- Pick the prototype this domain should serve. If it is not published yet, the button reads Publish: it publishes the prototype first, then adds the domain. Otherwise click Connect.
- The dialog lists the DNS records to add, with their Type, Name and Value. Name and value each have a copy button. Add them where you bought the domain. Expect a routing record (CNAME or A) and usually a TXT record that proves you own the domain.
- Click Check status. DNS changes can take up to 48 hours to spread, so close the dialog and come back if it is not ready.
What each status means
Hover the dot next to a domain to see its status. The line under the domain says what to do.
A domain can also show Not published (its prototype was unpublished; click Publish on the row) or Prototype removed (its prototype is no longer on the canvas; choose another with Change prototype).
Change or remove a domain
Open the menu on the domain’s row:- Change prototype points the domain at another prototype in the project.
- Remove takes the domain off the project. Removing a root domain also removes its www redirect.
Limits
- Up to 5 custom domains per project. www redirects do not count.
- Each domain serves one prototype, and shows it once that prototype is published.
- Connecting, publishing and changing the prototype only work on the default branch. On another branch they are disabled, with Switch to main (named after your default branch) at the top of the tab. See Branches.
Related
- Publish a prototype — publish, update and unpublish the prototype a domain serves
- Plans — which plans include custom domains